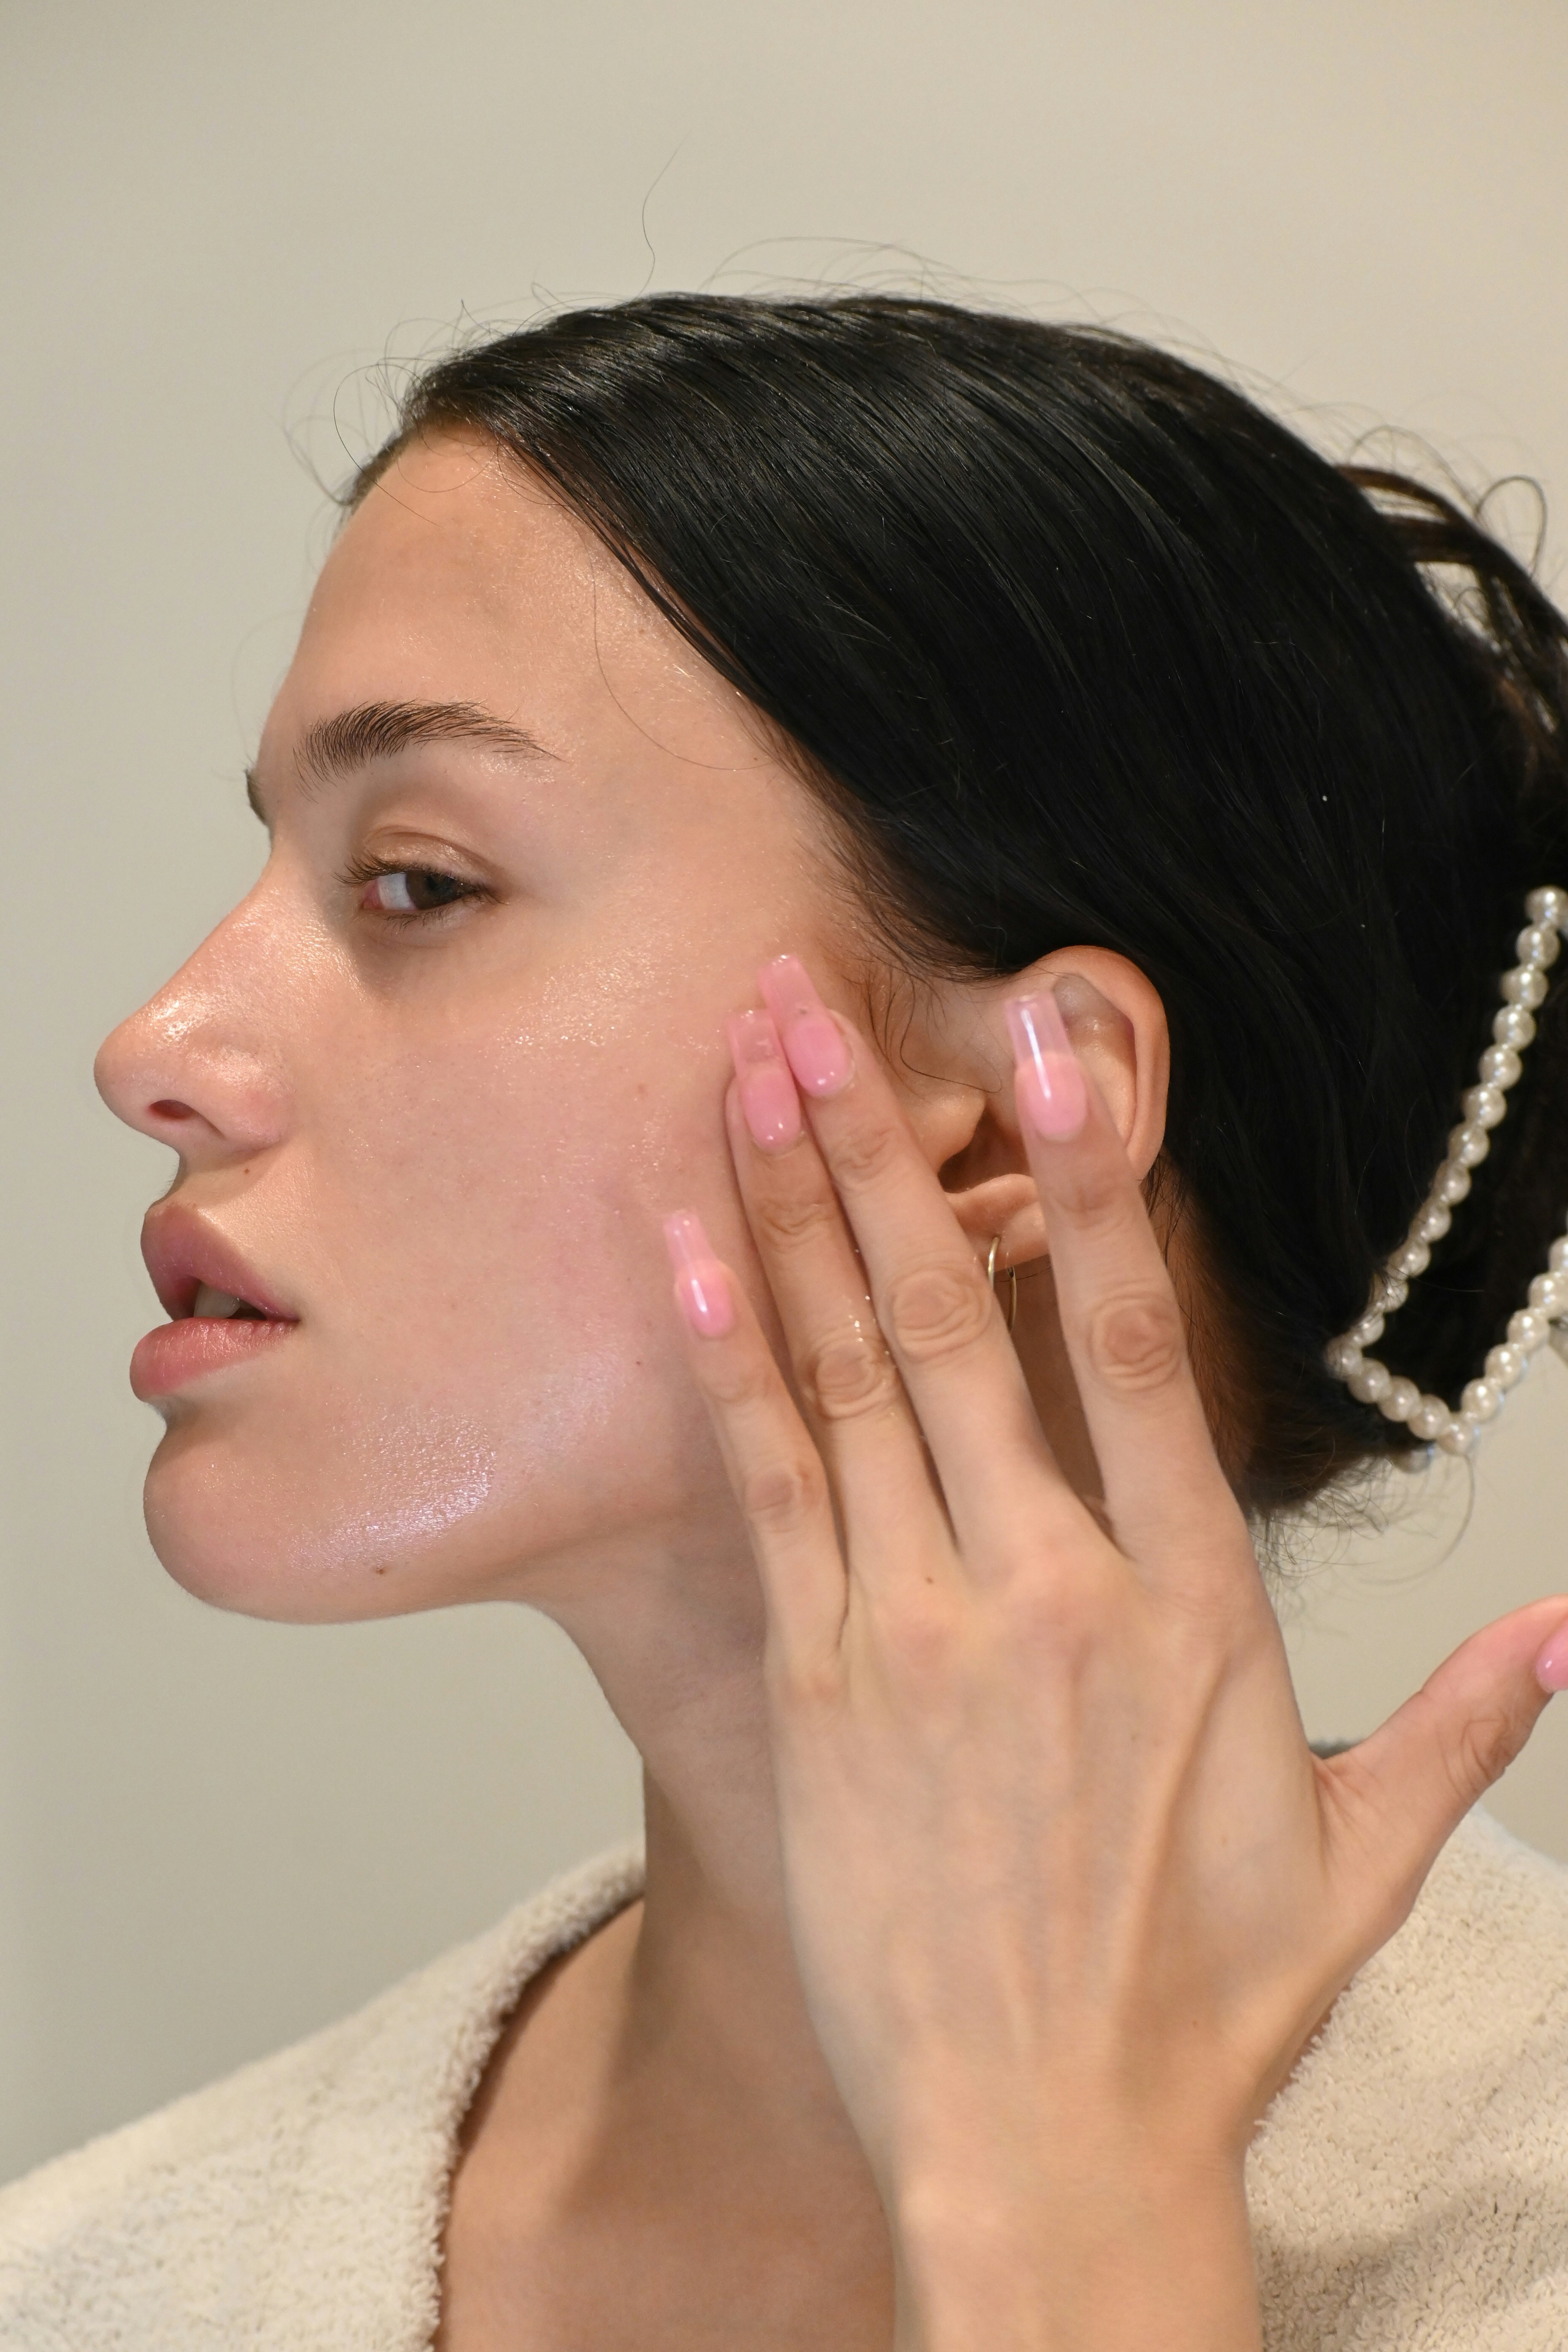
Pores cannot be erased, but oil, congestion, hydration, texture, and photo conditions can change how visible they look. Use this realistic tracking plan.
You cannot open, close, or permanently erase pores. You may be able to reduce how visible they look by addressing oil, congestion, dehydration, surrounding texture, or sun-related loss of support. The correct target depends on why the pores look prominent in the first place.
Quick Answer
Large-looking pores often reflect a combination of:
higher sebum production
clogged follicle openings
lower elasticity around the pore
acne history
dehydration or rough surface texture
harsh lighting and camera sharpening
A clinical review identified high sebum output, reduced elasticity around pores, and increased follicle volume as three major contributors. PubMed
What Pores Are
Visible facial pores are the openings of hair follicles and oil glands. They are normal anatomy, not dirt holes. Marketing that promises to "remove" pores creates an impossible baseline.
The useful question is: what is making the opening or surrounding texture more noticeable today?
Match the Pattern to the Goal
What you see | Possible contributor | Better tracking target |
|---|---|---|
Shiny T-zone and visible pores | Higher sebum | Midday oil and pore appearance together |
Dark plugs or rough dots | Congestion or sebaceous filaments | Number and distribution of clogged areas |
Pores look larger in dry side light | Dehydration and surface roughness | Comfort, flaking, and photos in neutral light |
Pores with old acne texture | Structural texture | Professional assessment, not pore serum promises |
Gradual prominence over time | Elasticity and sun exposure may contribute | Sunscreen consistency and long-term comparison |
Research has found correlations between pore visibility, sebum, acne, and elasticity, but correlation does not mean one product will correct every contributor. PubMed
What Can Realistically Change
Oil and congestion
A well-tolerated routine may make pores look cleaner or less stretched by buildup. Avoid squeezing, aggressive extraction, and repeated scrubbing, which can create inflammation and texture.
Hydration and surface smoothness
When skin is dehydrated or flaky, side lighting can exaggerate every edge. Improving comfort and surface smoothness may make pores less obvious without changing their anatomy.
Surrounding texture
Retinoids, salicylic acid, niacinamide, and professional treatments may fit different goals, but tolerance and evidence vary. Add one variable at a time rather than building a pore-minimizing stack.
Read Niacinamide: When It Helps, When It Irritates before assuming a higher percentage is better.
What Cannot Be Promised
Skincare cannot guarantee:
poreless skin
permanent pore closure
removal of structural acne scars
the same result across every skin type
an accurate comparison from filtered photos
If the main issue is bumps or uneven texture rather than the pore opening itself, start with Skin Texture vs Pores vs Bumps.
A Four-Week Pore Tracking Plan
Use one camera, lens, distance, and daylight position.
Take photos once a week, not after every cleanse.
Record midday shine from 0 to 3.
Count inflamed breakouts and clogged areas separately.
Track tightness and flaking.
Change only one treatment variable.
Review whether comfort improved as well as appearance.
The standardized method in Before-and-After Skincare Photos prevents side lighting from becoming your progress metric.
Common Mistakes That Make Pores Look Worse
The most common mistake is attacking the surface until it looks temporarily matte. Over-cleansing, alcohol-heavy toners, rough scrubs, and frequent extraction may remove surface oil for a short time while increasing irritation and roughness.
Other misleading patterns include:
judging pores immediately after a hot shower
comparing a filtered front-camera photo with a sharp rear-camera image
adding several oil-control ingredients at once
using heavy makeup removal pressure around the nose
mistaking sebaceous filaments for acne that must be extracted
ignoring sunscreen while focusing only on oil
The goal is not to keep the face dry. It is to make oil, congestion, and texture more stable without creating a new barrier problem.
How to Choose the Next Experiment
Choose the variable that matches the strongest signal. If midday shine and pore visibility rise together, test one oil-supporting change. If the surface is flaky and tight, prioritize comfort and moisturizer. If dark plugs and inflamed breakouts dominate, acne-focused guidance may be more appropriate.
Use the one-variable process in Product Testing in Skincare. Review after four weeks for tolerance and early pattern changes, then allow a longer window when the ingredient requires it.
When to Ask a Dermatologist
Get professional advice for painful acne, scarring, persistent inflammation, or when you are considering peels, lasers, microneedling, or prescription treatment. These options have different risks across skin tones and should not be chosen from a pore photo alone.
What to Track in Biuty
Track oil, congestion, comfort, treatment frequency, and weekly neutral-light photos. Label the area because cheek, nose, and forehead pores can behave differently.
Key Takeaways
Pores are normal and cannot be erased. Their visibility can change when oil, congestion, hydration, or surrounding texture changes.
Use Biuty to compare the same area under the same conditions so you can judge a realistic improvement instead of chasing a filtered idea of poreless skin.
Skincare technology editors focused on evidence-informed routines, ingredient literacy, and visual skin progress tracking.
Explore our guides:
The Complete Guide to Skin Concerns · The Complete Skincare Ingredients Guide
Track what actually works for your skin
Biuty helps you compare skin progress over time, understand routine changes, and reduce product guesswork with visual tracking.
Try Biuty
Learn more
Discover more from the latest posts.