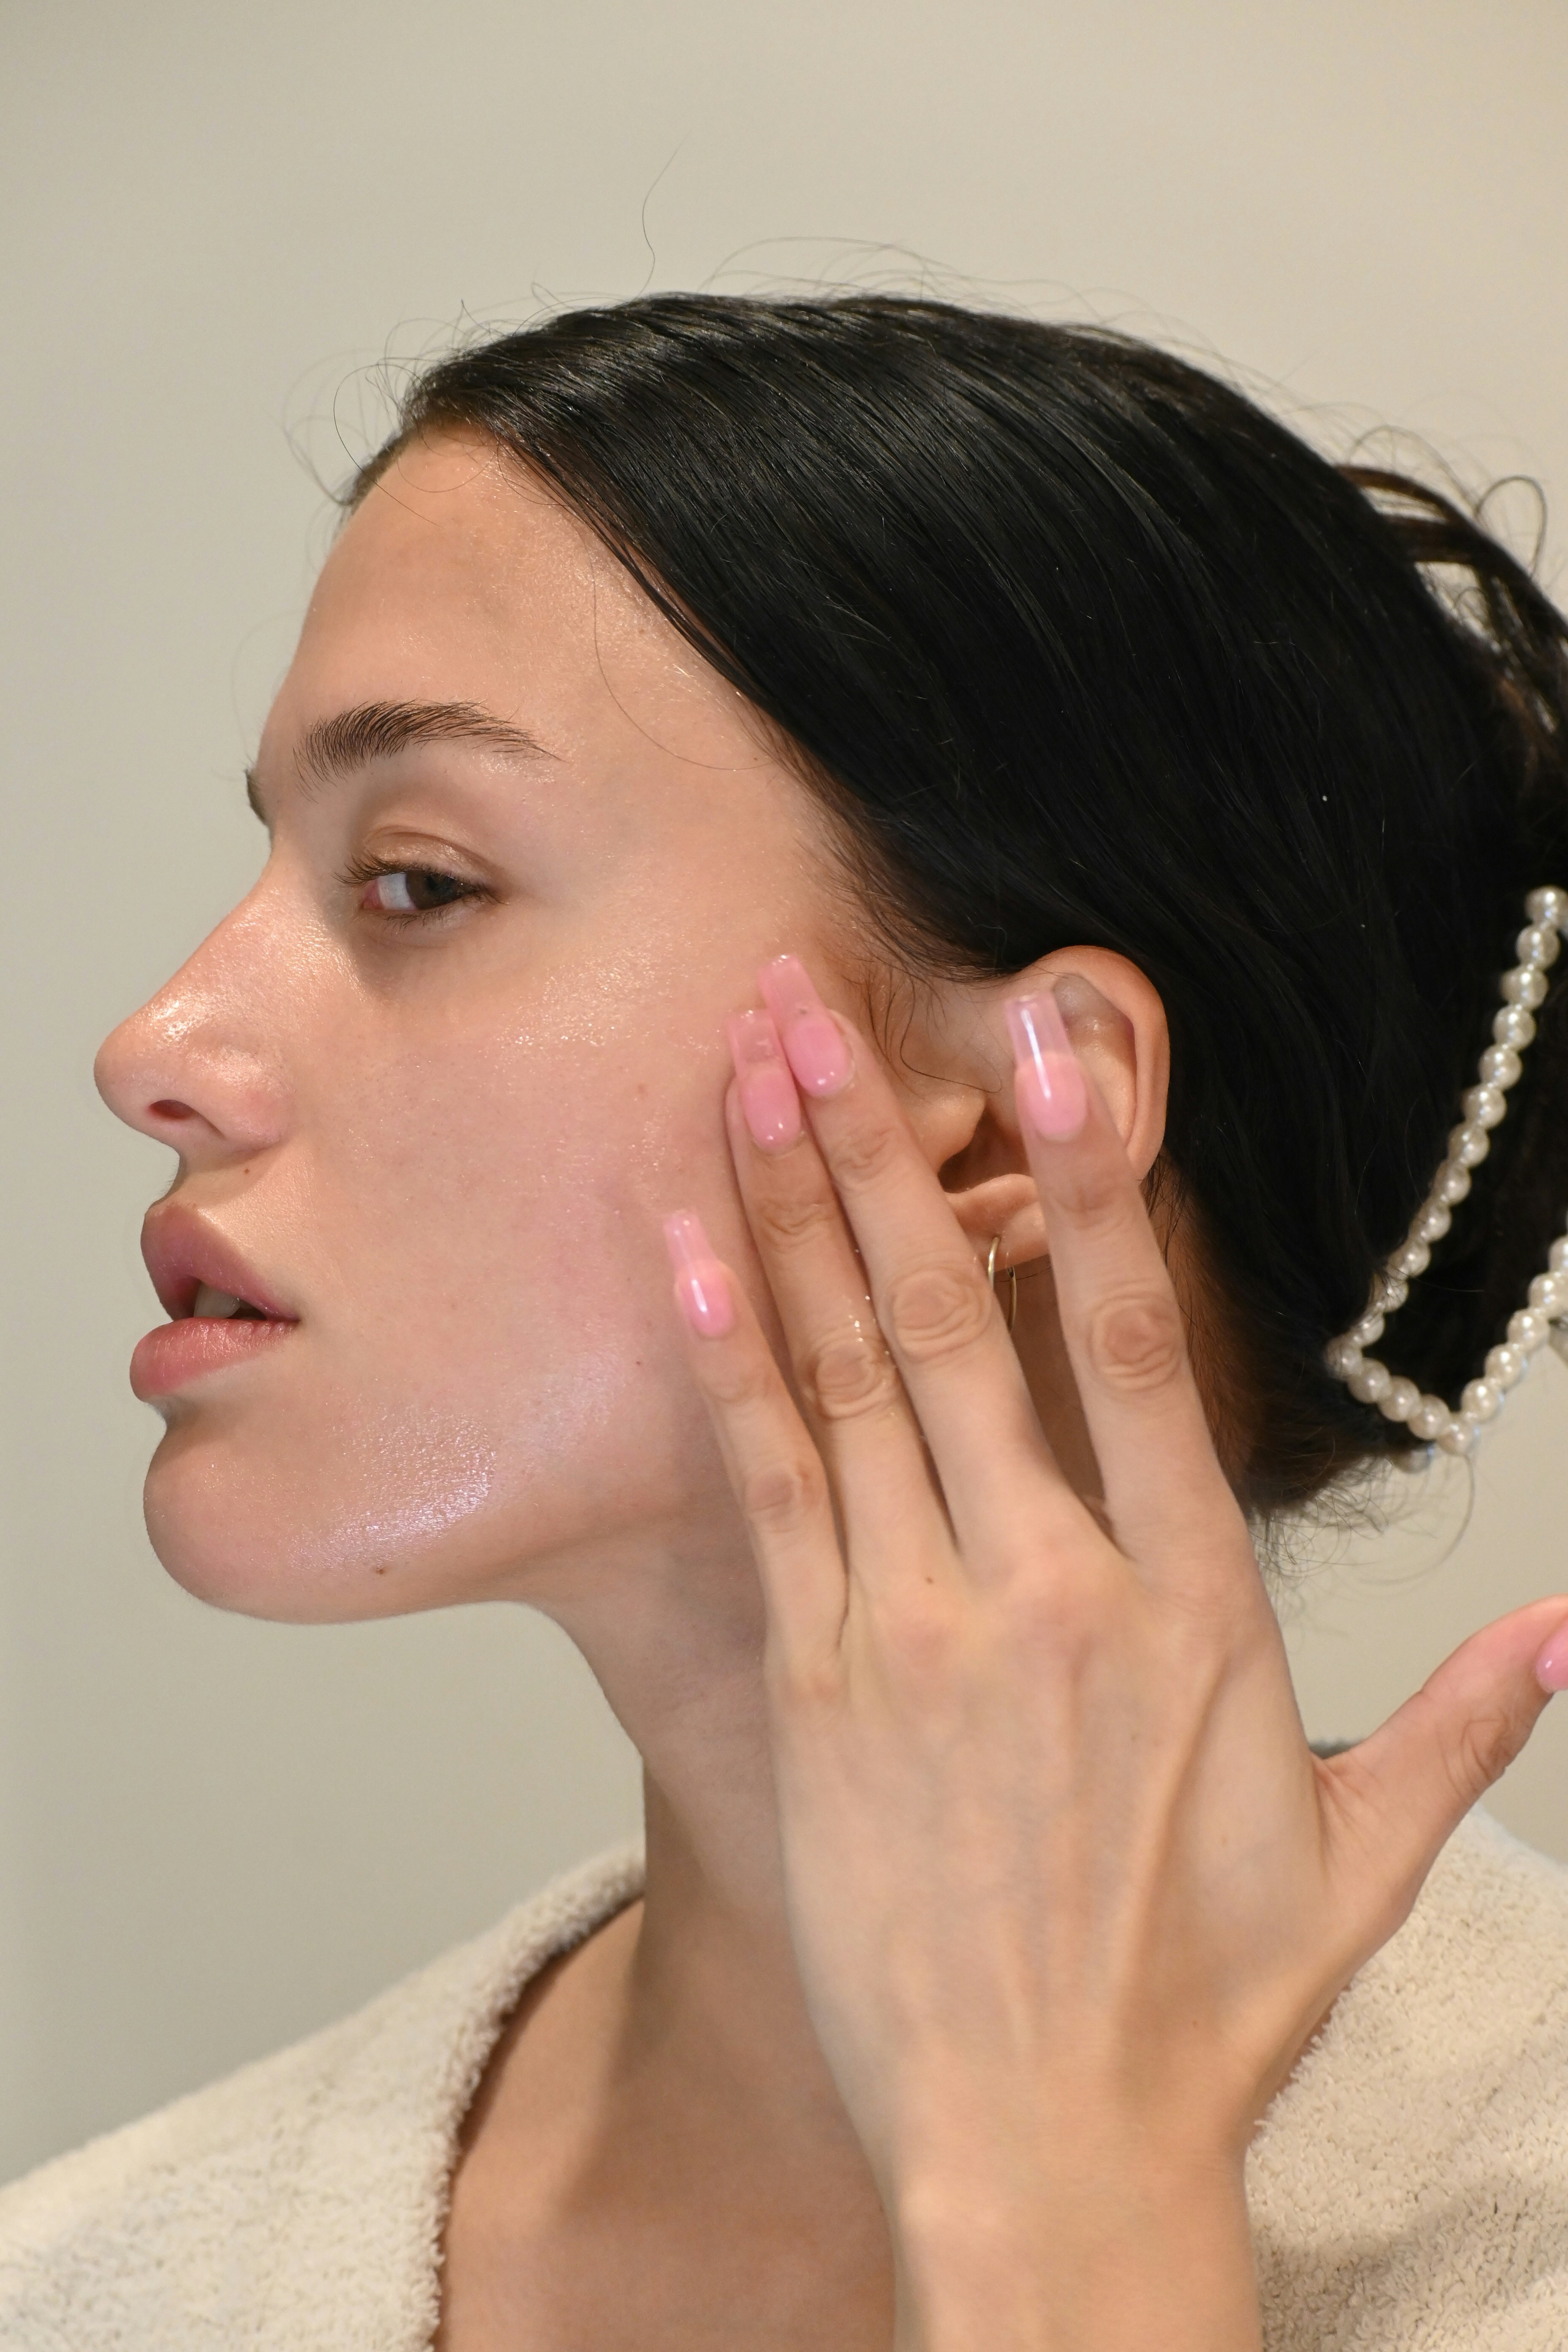
Before-and-After Skincare Photos: The Mistakes That Make Progress Hard to See
Before-and-after photos can be useful, but only if lighting, angle, timing, and expectations stay consistent. This guide shows how to take progress photos that help you learn instead of second-guessing.
Before-and-after skincare photos are useful only when the "before" and "after" are actually comparable. If your lighting, angle, distance, timing, or skin prep changes, your photos can make the same skin look smoother, redder, brighter, or more irritated than it really is.
That is why progress photos should be treated as a tracking tool, not a verdict. Good photos help you notice patterns over time. Bad photos make you overreact to one breakout, quit a product too early, or convince yourself something worked when the setup changed more than your skin did.
This guide explains the biggest mistakes that make skincare progress hard to judge, how to take more reliable photos, and how to review them without slipping into guesswork.
Quick Answer
The most useful before-and-after skincare photos follow the same rules every time:
same lighting
same angle
same distance from the camera
same time of day
same skin state, ideally before skincare or makeup
enough time between photos to show a real pattern
If one or two of those variables drift, the comparison gets noisy fast. A brighter room can soften texture. A lower camera angle can change shadows around pores and lines. A fresh layer of moisturizer can make skin look healthier than it did 20 minutes earlier.
The goal is not perfect photography. The goal is to remove enough noise that your photos can answer one practical question: what changed, if anything, since I started this routine?
Why Progress Photos Matter in the First Place
Skin changes slowly and unevenly. Redness can fluctuate day to day. Breakouts can improve in one area while another area flares. Texture can look different in bathroom light, car light, and daylight even when your skin is basically the same.
That makes memory unreliable. Most people do not remember their skin as it was two weeks ago. They remember how they feel about it today.
Progress photos are helpful because they create a visual record you can compare against the same baseline. That is especially useful when you are testing a new routine, checking whether a concern is stabilizing, or deciding whether a product deserves more time.
Research in teledermatology points to the same practical lesson from another angle: image quality problems are common, and poor lighting, blur, framing, distance, and camera inconsistency can reduce how useful a skin photo is. That does not mean you need clinical photography at home. It means photo quality and consistency matter more than most people think.
The Biggest Mistakes That Make Progress Hard to See
1. Changing the Lighting
Lighting is the fastest way to fake progress without meaning to.
Bright front light can make redness look softer and texture look smoother. Overhead light can deepen shadows and make pores, bumps, or under-eye hollows look stronger. Warm evening light can make tone look richer, while cool daylight can make pinkness show up more clearly.
If your before photo was taken in a dim bathroom and your after photo was taken near a bright window, you are not comparing skin to skin. You are comparing lighting setups.
Best rule: pick one location and one light source and reuse it every time. If that is not possible, prioritize the same time of day in the same room over "best-looking" light.
2. Changing the Angle or Distance
Small shifts in camera position can change how your face reads:
pores can look larger or smaller
shadows around texture can deepen
jawline and cheek shape can shift
redness can appear stronger on one side
The easiest fix is boring but effective:
Place the phone at the same height each time.
Keep the same distance between your face and the camera.
Take the same three views every time: front, left, and right.
Do not chase the most flattering angle. Flattering angles are terrible tracking tools.
3. Taking Photos in Different Skin States
Your skin does not look the same:
right after cleansing
after moisturizer
after sunscreen
after a workout
after a hot shower
after exfoliation
with makeup on
That matters because hydration, occlusion, and temporary redness can change the look of skin fast. A dewy after photo may reflect product finish more than routine progress.
Best rule: take photos before skincare application, before makeup, and before intense heat or exercise whenever possible.
4. Comparing Photos Too Soon
One of the most common mistakes is checking for dramatic change too early.
Hydration and comfort may shift quickly. Breakouts, dark marks, and texture usually move slower. If you compare day 1 to day 3 and expect a transformation, you are setting up the photos to disappoint you.
Instead of taking random photos every time you feel frustrated, use a repeatable rhythm:
baseline
7 days
14 days
30 days
That rhythm gives your routine some time to show a pattern. If you need a more complete tracking framework around those photos, How to Build a Skincare Routine That Fits Your Skin Type, Budget, and Goals and Skincare Routine Order: The Science Behind Perfect Product Layering help you keep the routine itself stable enough to judge.
5. Ignoring Context Around the Photo
Photos are not the whole story.
The same skin can look different because of:
sleep loss
sun exposure
menstrual cycle shifts
shaving or waxing
travel
dryness from weather
trying multiple new products at once
If you look only at the picture and not at the week around it, you can blame the wrong product or credit the wrong change.
That is why a useful photo routine should include a few notes:
what products changed
when the change started
whether your skin felt tight, stingy, itchy, or comfortable
whether there was unusual sun, stress, or travel that week
6. Using Filters, Beauty Mode, or Different Cameras
This sounds obvious, but it still ruins tracking.
Beauty filters can soften texture and reduce redness. Different phone cameras can handle color, contrast, and sharpness differently. Even switching between front and back cameras can change the result enough to confuse the comparison.
Best rule: use the same device, the same lens, and no beauty mode. If your camera app applies automatic smoothing by default, turn it off.
7. Reading Too Much From One Bad Day
A single breakout does not always mean your routine failed. One calm photo does not always mean your routine worked.
Skin is dynamic. What matters is the direction of the pattern:
more stable or less stable
more reactive or less reactive
fewer inflamed breakouts or the same amount
redness that settles faster or redness that keeps lingering
Use photos to spot trends, not to confirm whatever you were already worried about.
A Simple Before-and-After Photo Protocol That Actually Helps
If you want progress photos that are useful rather than dramatic, keep the process simple.
Step | What to do | Why it matters |
|---|---|---|
1 | Choose one location | Reduces lighting and background changes |
2 | Take photos at the same time of day | Keeps tone and redness comparisons cleaner |
3 | Shoot before skincare or makeup | Avoids temporary glow or redness shifts |
4 | Capture front, left, and right views | Makes texture and breakout patterns easier to compare |
5 | Keep the phone height and distance consistent | Reduces fake changes from perspective |
6 | Add one short note about routine changes | Helps you interpret the photo later |
7 | Review at 7, 14, and 30 days | Encourages pattern-based decisions |
You do not need a tripod to do this well, but some people find it helpful. A shelf, mirror ledge, or taped floor marker can also do the job if it helps you repeat the setup.
How to Read Your Photos Without Fooling Yourself
The best review question is not "Does my skin look perfect now?" It is "What looks consistently different across several comparable photos?"
Look for:
fewer active inflamed breakouts
less flaky or irritated-looking areas
tone that looks more even in the same light
texture that appears calmer across several check-ins
skin that looks more stable even if not dramatically transformed
Do not overread:
one extra glow day after a hydrating mask
one red day after a workout or hot shower
one dry day after overusing an active
one flattering photo taken closer to a window
If you are prone to irritation, pair photo review with comfort tracking. A routine that looks slightly better in a photo but stings every night is not automatically a good routine. Best Skincare for Sensitive Skin is a better reference point when comfort and barrier tolerance are part of the decision.
When Photos Help Most
Before-and-after skincare photos are especially useful when you are trying to judge:
whether redness is settling down over several weeks
whether new breakouts are becoming less inflamed
whether dark marks are slowly fading
whether one area keeps reacting to a product change
whether your routine is at least becoming more stable
They are less useful for proving dramatic overnight change. They are also not enough to diagnose why something is happening.
When Photos Are Not Enough
Photos can organize what you are seeing. They cannot tell you exactly what a rash, bump, patch, or mark is.
Be more cautious if you notice:
a new or fast-changing spot
bleeding, crusting, or persistent tenderness
swelling
a widespread rash
repeated reactions you cannot explain
irritation strong enough to keep worsening
That is the point where a dermatologist matters more than another comparison photo.
A Better Framework Than "Before vs After"
The phrase "before and after" sounds simple, but skincare progress is usually not a single jump from problem to solved. It is more often:
baseline
small fluctuation
early irritation or adjustment
stabilization
slower visible improvement
That is why it helps to think in checkpoints instead of one dramatic reveal. In practice, a sequence of comparable photos is more informative than one before image and one after image pulled from different contexts.
If you are testing a product, change one variable at a time. If you swap cleanser, exfoliant, serum, and moisturizer in the same week, your photos may show change but still fail to teach you what caused it.
What to Track in Biuty
Biuty is most useful when your photos live alongside the context that explains them.
Use Biuty to track:
your baseline scan
front, left, and right progress photos
redness, texture, pores, and breakout patterns
product start dates
weekly notes on comfort and sensitivity
whether a visible change held up at 7, 14, and 30 days
That turns a camera roll into something more decision-friendly. Instead of flipping between random selfies, you can compare a real sequence and ask better questions about whether your routine is calming, irritating, or doing very little.
Key Takeaways
Before-and-after skincare photos work only when the setup stays consistent enough to make the comparison fair. The biggest mistakes are changing lighting, angle, distance, timing, and skin state between shots.
Use progress photos to track patterns, not to chase dramatic reveals. Take them in the same place, at the same time of day, before skincare or makeup, and review them across several checkpoints rather than one emotional moment.
If you want a cleaner way to scan, save, and compare your skin over time, save consistent progress photos in Biuty and review them with the routine changes that happened around them.
Skincare technology editors focused on evidence-informed routines, ingredient literacy, and visual skin progress tracking.
Explore our guides:
The Complete Guide to Skin Concerns · The Complete Skincare Ingredients Guide
Track what actually works for your skin
Biuty helps you compare skin progress over time, understand routine changes, and reduce product guesswork with visual tracking.
Try Biuty
Learn more
Discover more from the latest posts.